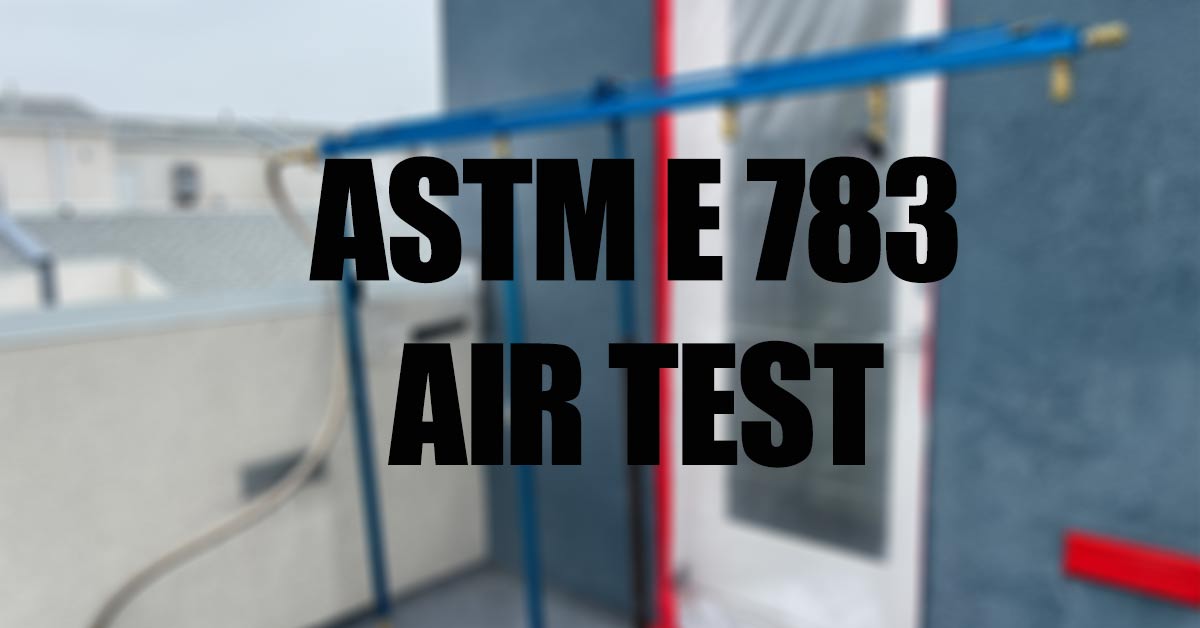
ASTM E783 Air Leakage Through Installed Exterior Windows and Doors
If you need more information regarding the ASTM E783 field test look no further. This document will cover the ASTM air infiltration test and hopefully answer any questions you may have regarding the application of this test.
For many new construction commercial buildings and some homes installing new windows and or doors, testing these fenestration products is a necessity. Having professional water intrusion specialist in Los Angeles perform these tests is also a necessity. The ASTM E783 air infiltration test is one of the tests suggested to be performed on all new windows, doors, or curtain walls. The ASTM E783 is a standardized test to determine the rate of air leakage from a window, door or curtain wall. These products possess designated pressure differences which the testing protocol uses as a baseline.
The Test Procedure of the ASTM E783 Procedure Broken Down:
The very first thing to do is observe your testing environment. Things to pay close attention to are the wind, and temperature variations.
The tests performed in this standard will be a door, window, or curtain wall, the testing agency following ASTM E783 section 3.2.6…
3.2.6 test specimen—the assembled window or door unit as installed in the exterior wall of a building. The test specimen consists of the major components of the assembly, including all joints, cracks, or openings between such components and any panning, receptors, extenders, sills, mullions, or other parts or components used for assembly and installation. The test specimen excludes any joints, cracks, or openings between the assembly and any interior or exterior trim that is not an integral part of the system, and excludes any joints, cracks, or openings between the assembly and the adjacent wall construction.
Test Chamber for the 783 Air Infiltration Test
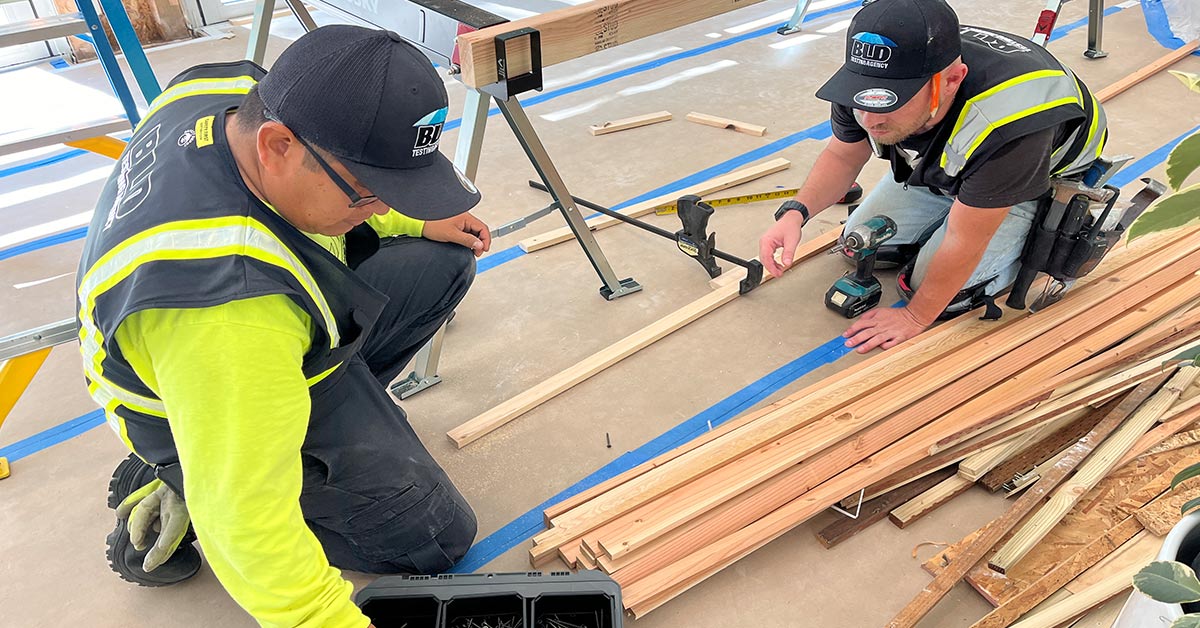
The construction of a test chamber is the next step and after which, it’s fitted onto the specimen. This chamber can be installed either on the inside or the outside of the test specimen. A wood frame is built and heavy-duty vinyl is fitted don’t the face of the frame. The gaps between the specimen frame and the wall are sealed off as not to affect the test. Here we see the standard that dictates the test chamber requirements.
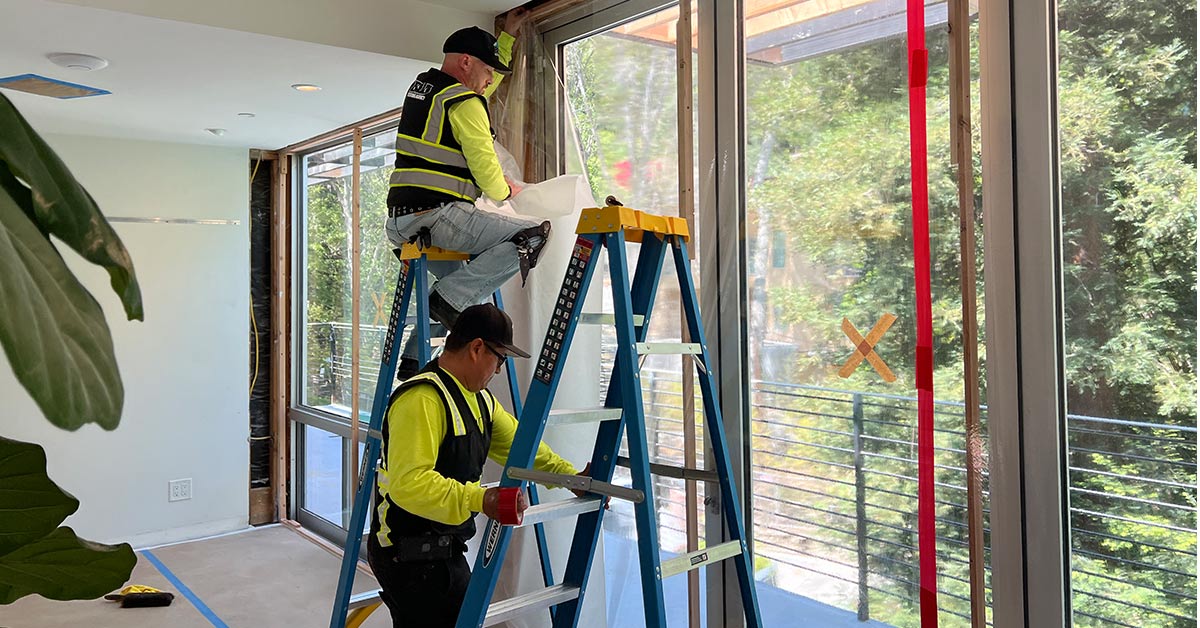 6.1.1 test chamber—a chamber formed by sealing a sheet of plywood, plastic, or other suitable material against the frame of the test specimen. At no time during the test shall the sheet or any other part of the testing assembly, come in contact with or restrict any point where air leakage may occur. At least one static air pressure tap shall be provided on each side of the specimen to measure the chamber pressure versus the ambient (indoor to outdoor) air pressure, and shall be located so that the reading is unaffected by outdoor impinging wind, or by the air supply to or exhaust from the test chamber. The air supply opening to the chamber shall be located in an area in which it does not directly impinge upon the test specimen
For the pressure differential, a blower is installed to create the necessary pressure within the chamber. The minimum requirement for this component is to create a steady pressure difference during the test. Installed into the chamber is a pressure-measuring device. The testing agency just has to document whether the test chamber is affixed to the interior or the exterior of the building and whether the pressure is positive or negative
8.3 The testing agency shall supply the following information:
8.3.1 Whether the test chamber will be affixed to the interior or exterior side of the test specimen, and
8.3.2 Whether the test(s) will be conducted using positive or negative static air pressure differences.
In section number 9, The testing agency will, following the ASTM E783, Determine the number of specimens to be tested and the procedures to be used for the selection and identification of test specimens.
Preparation of Test Specimen
Section 10 is titled Preparation of Test Specimen. This section is the part where the tester conducts a visual examination of the specimen to be tested for damage. If there is any damage, you will want to document this and include this in your report.
9. 10.2 Conduct a detailed visual examination of the test specimen and the construction adjacent to the test specimen. Record all pertinent observations.
NOTE 5—The purpose of this examination is to record the physical condition of the test specimen and adjacent construction at the time of testing. Examples of pertinent observations to be recorded include any damage or deterioration observed; missing or broken components; misalignment or misadjustment of weatherstrip or other components; cleanliness of the test specimen; out-of-square installation; etc.
10.3 Record any repairs, modifications, or adjustments made to the test specimen, particularly those that may affect the measured results.
Section 11 is the preparation of the test apparatus
This part speaks to the test chamber and how it’s mounted onto the specimen. The standard doesn’t want you to mount the chamber onto the specimen in a way that includes any joints cracks or openings which may allow leakage and give the tester. false positive test. Should the tester find any of these conditions, they are to seal off these cracks etc… to eliminate any interference or confusion with air intrusion that may not be related to the product itself.
11. Preparation of Test Apparatus 11.1 Fit the test chamber to the perimeter of the test specimen to cover the entire assembly through which air leakage is to be determined. If possible, exclude from the test chamber those joints, cracks, or openings for which air leakage is not to be determined, or tape or otherwise seal such openings to prevent leakage from occurring during the test. Provide suitable support for the test chamber so that it does not contact or restrict any point where air leakage may occur. Seal all joints between the test specimen perimeter and the test chamber; seal any openings between the test chamber and any air supply or exhaust ducts, pressure taps or other measuring devices.
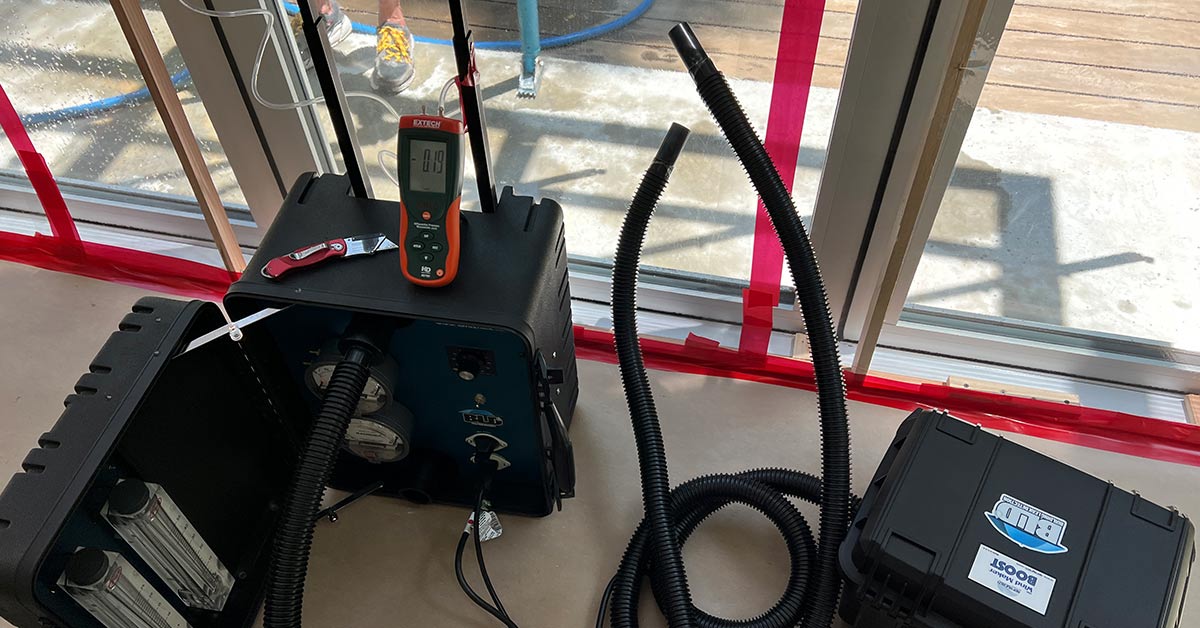 Measuring for extraneous air leakage is a huge part of performing this test. There are a couple of ways to administer this as seen here in 11.2 and 11.2.2 within the official standard. When access to the specimen’s higher-pressure side is possible without compromising the specimen’s seals with the test chamber, apparatus, or specimen itself, a thin polyethylene film sheet that fits “loosely” over the specimen can be taped or sealed in some other way.
Cover just the joints, cracks, or gaps that will be monitored for air leakage during the test by taping or sealing the entire perimeter of the film to the test specimen. Before conducting air leakage testing, set the airflow to produce the desired test pressure difference(s).
Once the system achieves equilibrium, which can be observed by pressing the film firmly against the test specimen’s surface and maintaining a steady static air pressure differential and air flow, take note of the measured air flow.
11.2 Measure the extraneous air leakage through and around the test chamber, test apparatus, and test specimen, at the test pressure difference(s) to be exerted during the air leakage tests, using one of the following techniques: 11.2.1 For applications where the higher-pressure side of the test specimen is accessible without disturbing the seals between the test chamber, test apparatus, and test specimen, tape or otherwise seal a“ loosely” fit sheet of thin polyethylene film over the higher-pressure side of the test specimen. Tape or seal the full perimeter of the film to the test specimen, making sure to cover only those joints, cracks, or openings intended to be measured for air leakage during the test. Adjust the air flow to provide the test pressure difference(s) to be exerted during the air leakage tests. When the system reaches equilibrium (as evidenced by the film being held tightly against the surface of the test specimen, and a constant static air pressure difference and air flow), measure and record the metered air flow. Designate this measurement Qe. Remove the polyethylene film and all tape or sealant, without disturbing any other seals, prior to conducting the air leakage tests. 11.2.2 For applications where the lower-pressure side of the test specimen is accessible without disturbing the seals between the test chamber, test apparatus, and test specimen, securely tape or otherwise seal and hold down a tightly fit sheet of polyethylene film over the lower pressure side of the test specimen. The sheet must be sufficiently strong not to tear or rip under the pressures to be exerted, and the tape or other seal must resist breaking away. Tape or seal the full perimeter of the film to the test specimen, making sure to cover only those joints, cracks, or openings intended to be measured for air leakage during the test. Adjust the air flow to provide the test pressure difference(s) to be exerted during the test. When the system reaches equilibrium (as evidenced by a constant deformation of the film, and a constant static air pressure difference and air flow), measure and record the metered air flow. Designate this measurement Qe. Remove the polyethylene film and all tape or sealant, without disturbing any other seals, prior to conducting the air leakage tests. 11.2.3
Sections 13 speaks to the application of the E783 Air Test procedure
For starters, the first step is to change the flow of air through the test tube so that the test pressure difference across the specimen is what was asked for. Once the test conditions are stable, write down the test pressure difference and the flow of air through the flowmeter.
13. Procedure 13.1 Adjust the airflow through the test chamber to provide the specified test pressure difference across the test specimen. When the test conditions are stabilized, record the airflow through the flowmeter and the test pressure difference.
13.2 Measure the barometric pressure, temperature, and relative humidity of the air near the exposed side of the test specimen, and of the air near the air intake or exhaust of the air system. Measure and record the speed and direction of the air movement (wind) at or near the exposed surface of the test specimen. Such measurements shall be taken immediately prior to or during the test.
Final report
Upon completion of the ASTM standard airflow test, a report is generated. The report is an unbiased account of the results when the ASTM E783 air infiltration test is performed in either Arizona, Nevada, or Los Angeles California. The following items are necessary in the report delivered by the testing agency.
15.1.1 General—Testing agency, date and time of test, date of report, identification, and location of the building.
15.1.2 Sample Description—Manufacturer, model, operation type, materials, and other pertinent information…
15.1.3 Drawings of Specimen—Detailed drawings of the specimen if available showing dimensioned section profiles, sash or door dimensions and arrangement, framing location, panel arrangement, installation and spacing of anchorage, weatherstripping, locking arrangement, hardware, sealants, glazing details, and any other pertinent construction details.
15.1.5 Test Parameters—List or describe the specified test pressure difference(s), whether the tests were conducted for infiltration or exfiltration, whether a positive or negative test pressure was used, whether the chamber was affixed to the interior or exterior of the test specimen, etc.
15.1.6 Ambient Test Conditions—List the indoor and outdoor air temperatures, relative humidities, barometric pressures, wind speed and direction, etc. as measured and recorded during the test.
15.1.7 Pressure Differences and Leakage—A statement or tabulation of the pressure differentials exerted across the specimen during the test and the corresponding specimen air leakage and the two air leakage rates
15.1.8 Compliance Statement—A statement that the tests were conducted in accordance with this test method, or a complete description of any deviation from this test method. When the tests are conducted to check for conformity of the specimen to a particular performance specification, the specification shall be identified
How Much Does the ASTM E783 Test Cost in Los Angeles, Arizona, or Nevada?
Testing here in Las Vegas Nevada, can cost as little as prices can range from $1100 per day to $2200 prepay. For most air infiltration tests, and depending on the size a quantity of the products to be tested. For most of the projects we test these tests can be performed in a day or so. For larger Las Vegas commercial projects the projects can take days and in some cases, over a month to complete.
Here is the ICC Building Code for the ASTM E783 test
N1102.4.3Fenestration air leakage.
Windows, skylights and sliding glass doors shall have an air infiltration rate of not greater than 0.3 cfm per square foot (1.5 L/s/m2), and for swinging doors not greater than 0.5 cfm per square foot (2.6 L/s/m2), when tested in accordance with NFRC 400 or AAMA/WDMA/CSA 101/I.S.2/A440 by an accredited, independent laboratory and listed and labeled by the manufacturer.
Rain Leak Testing | ASTM E1105, AAMA 501.2 Testing In Los Angeles, California | Phoenix, Arizona | Las Vegas Nevada

