Homeowners Comprehensive Guide To Performing Their Own Rain Leak Water Intrusion Test
For most of us who live in homes throughout the United States, we don’t ever expect to encounter leaks. Whether you live in a large home or a small home, a new home or an old home, rain leaks can show up unexpectedly at any moment and without notice. The next steps you take after you discover you have a rain leak or water intrusion are crucial. Do you hire a water intrusion specialist or do you perform your own investigation or water intrusion testing?

What is water intrusion in our home?
Basically, water intrusion into your home no matter what part of the country you live in… is when rain, usually rain, enters the building through a window, a door, a roof, a deck, or a wall. The water intrusion is just that, intrusive. It leaks into your home unexpectedly and you the homeowner are left to deal with not only removing the water, and cleaning the area affected, but also finding the origin of the rain leak.
Over time, water intrusion can lead to multiple different problematic issues like mold or even structural damage. Finding the source of your water intrusion is extremely important, so you will want to quickly determine if you are calling a water intrusion expert or opting to do the water intrusion testing yourself.
Download this document
Download your free copy of a step by step method to perform your own water intrusion testing for rain leaks
Click Me!How can I perform my own water intrusion test anywhere in the United States?
Within this document, we will hopefully answer some of your questions regarding water leaks within your home and how to test them once you encounter them. Having water leaks in your home or office is enough to cause anxiety to just about anyone. Within this document, we can hopefully show you have to perform your own water intrusion test with tools you can either rent or purchase from your local hardware store.
Is water intrusion caused by rain leaks?
Leaks into your home or building are typically the result of rain. Of course, there are other reasons you may get a leak into your building but rain is usually the catalyst. Within this document, we will discuss various types of water intrusion and the testing standards as well as the methods you can use to perform your how water intrusion test with no experience.
Water intrusion is mostly caused by multiple different conditions including;Building Leak Detection
- Construction defects
- Age of the building or product
- Faulty product
- Substandard construction-related conditions.

The first thing you need to do…
You’ll first need to determine which of these conditions is affecting your home to the point where it will result in rain leaks. Of these four conditions, the most common are age and construction defects.
The reason it’s important to know which of these conditions affect your building is that the water intrusion testing method is determined by the type of defect you’re experiencing.
For example, a faulty product like a door or a window is tested by testing a smaller area with a sprayer or something similar for a predetermined amount of time.
In contrast, a wall is much more difficult to test because there are usually multiple different penetrations within the wall system. These are things like vents, plugs, lights, and so on… These penetrations must be tested individually or isolated from the test only to be tested at a later date.
Where is water intrusion most likely to happen in a home or building?
It’s extremely difficult to say exactly where the most common leaks occur simply because we have seen it all. That being said, We find that there are building systems that tend to experience more issues than others. Below is a list of a few of these building systems that seem to leak in the rain more than others do.
- Windows and Doors
- Roofs
- Walls
- Decks
- Grading
Window and door water intrusion leaks the same anywhere in the country
We find that windows and doors leak more than just about any other system except for roofs. Windows and doors leak for a few different reasons, but mostly because of age. Testing windows when they are new is also known as quality assurance testing.
On the other hand, testing windows due to age usually falls under the category of forensic testing. In many cases, windows or doors that are clearly very old won’t be water tested due to the propensity of leaking. But, if it’s a lawsuit or something similar, testing is almost always needed. In a little bit, we’ll discuss a couple of methods you can use to test your windows and doors.
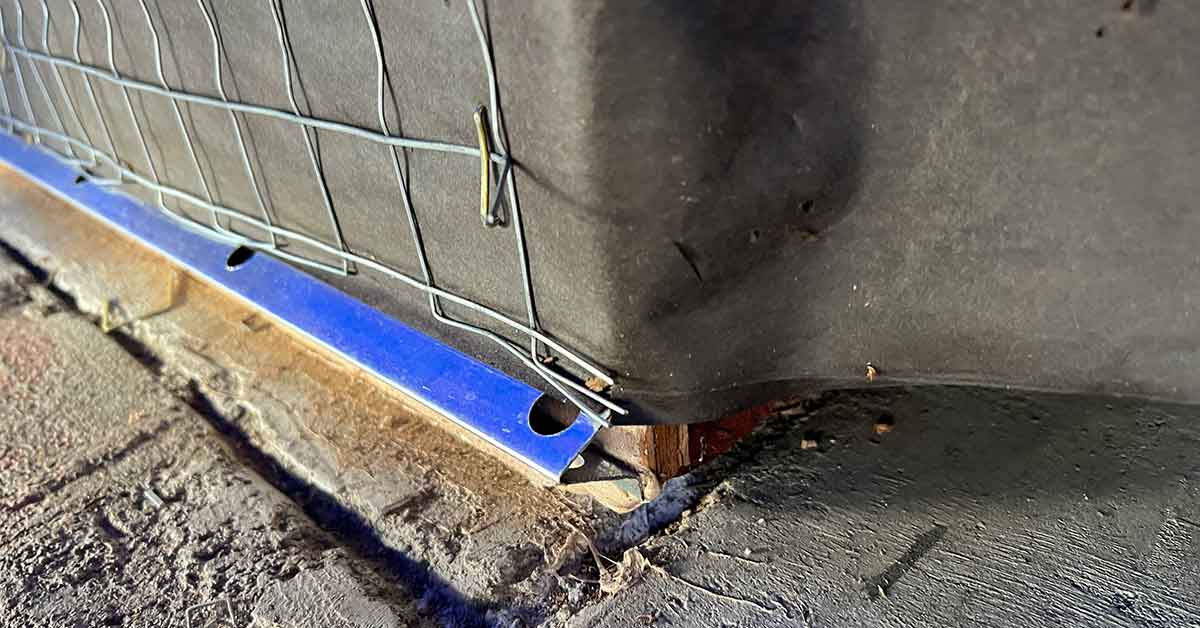
Rain leaks in exterior walls like siding or stucco
Exterior walls leak more often than you as a homeowner might think. In fact, Homes which are clad in stucco, are notorious for having leaks due to cracking. In contrast, siding-clad homes usually leak because the siding is rotted and the building envelope paper has deteriorated.
Speaking of deteriorated building paper. With homes clad in either material, stucco, or siding, the culprit is generally the building paper. Let me explain, the building paper is designed to last only a few years. Deterioration is the cause of the building leak in this case.
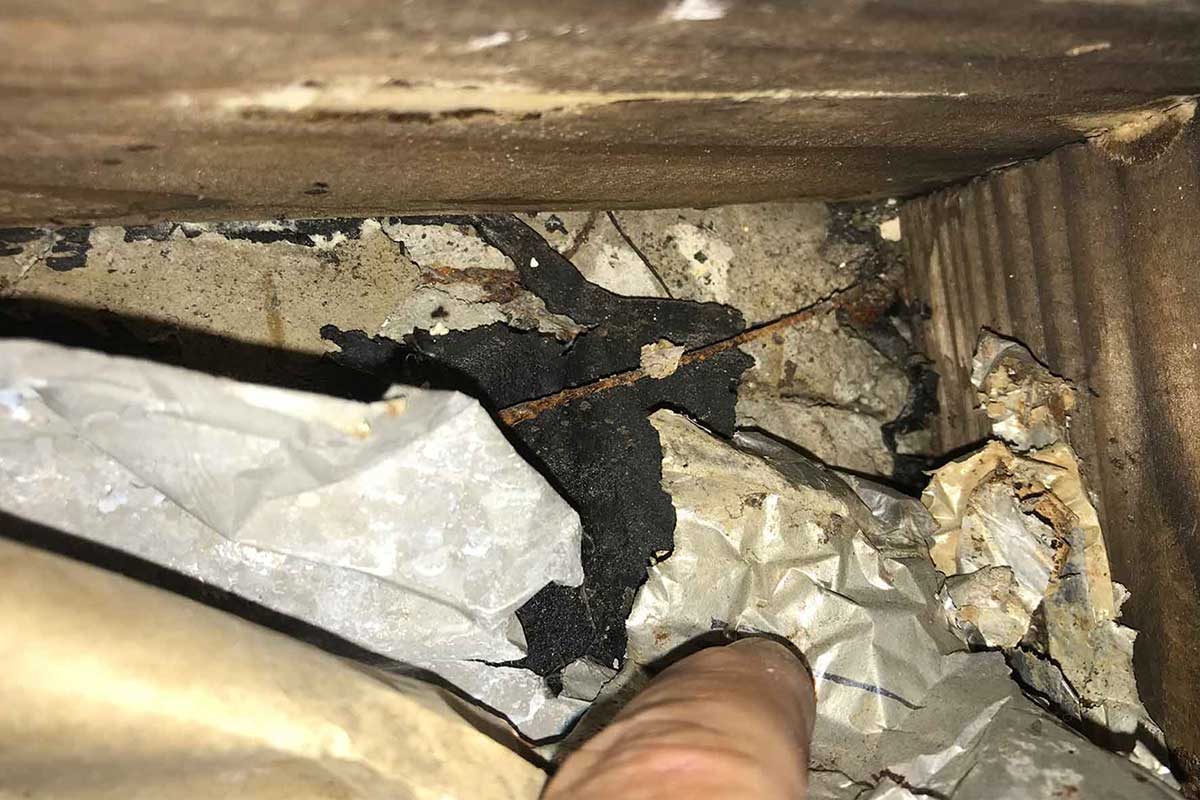
How do you know if your building paper is deteriorated?
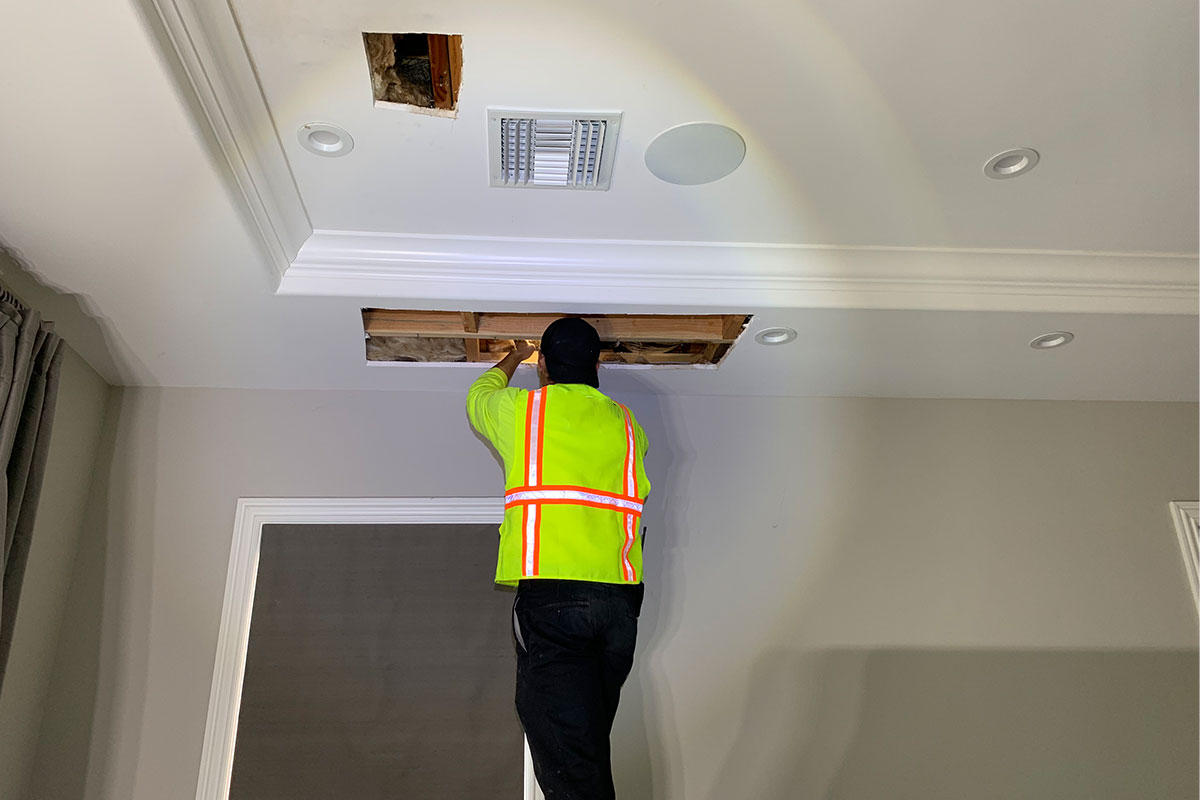
The most common way to determine if your building paper is compromised, you view it by either removing the interior drywall or exterior building cladding.
Of course, water intrusion testing is an option but it’s only going to prove a leak in the wall, but eventually, you will need to remove one of these materials to verify the condition of the building paper. We will talk more about how to test a wall system for rain leaks.
Roof leaks caused by rain
Hands down, roof leaks are the most common rain leaks we experience in a home. Roof leaks in a home just happen to be the most difficult to diagnose and prove. Officially, there are no official testing standards to diagnose roof leaks.
The ASTM 5957 flat roof is probably the only roof type that a homeowner can test, somewhat. We’ll discuss some of the methods you, the homeowner can use to administer your own roof leak water intrusion test.
Water intrusion in deck systems
Decks are notorious for leaking. Within these deck systems, there are so many different components that fail. Likewise, there are so many systems that make up a deck so it seems logical with so many different components that failure within one of these systems is inevitable.
The deck surface itself is just a huge membrane of waterproofing. There are flashings that make up the parameter of the deck and most of the time there are railings that penetrate the deck surface. So yeah, tons of places to leak.
Grading leads to water intrusion which is difficult to remedy
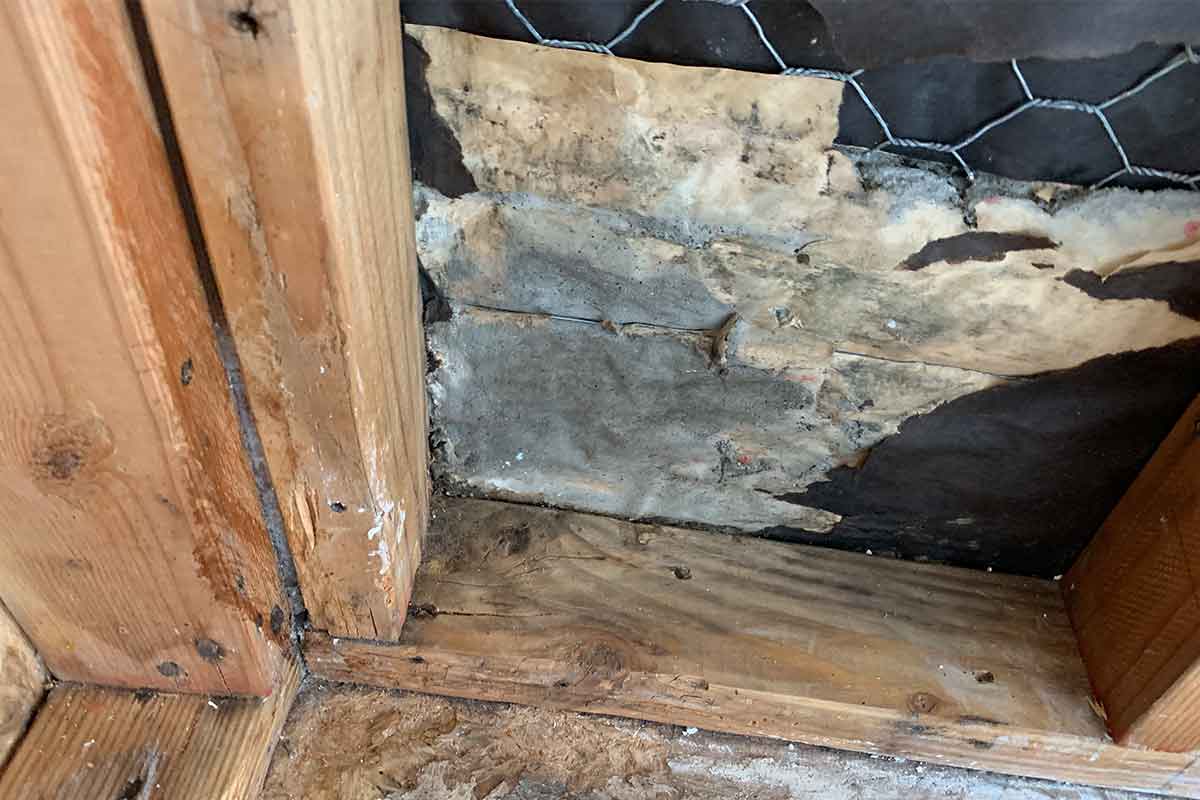
Water enters into buildings via grade more often than you might think. The building code for grades around a building is extremely clear in the CBC building code. On another level, grade leaks can take place sub-grade. Sub-grade places can include sunken in living spaces or basements.
THE BUILDING CODE
R401.3 Drainage. Surface drainage shall be diverted to a storm sewer conveyance or other approved point of collection that does not create a hazard. Lots shall be graded to drain surface water away from the foundation walls. The grade shall fall a minimum of 6 inches (152 mm) within the first 10 feet (3048 mm).Exception: Where lot lines, walls, slopes, or other physical barriers prohibit 6 inches (152 mm) of fall within 10 feet (3048 mm), drains or swales shall be constructed to ensure
drainage away from the structure. Impervious surfaces within 10 feet (3048 mm) of the building foundation shall be sloped a minimum of 2 percent away from the building
Follow these steps as soon as you notice you have a rain leak;
- Document the location where you see the water enter the building
- Document the amount of time it took for water to leak into the building
- Document the type of rain i.e. wind-driven, light, heavy, etc…
- Take video and pictures of the water intrusion where it enters the home
After you follow these steps, you will want to contact a water intrusion specialist to help determine the cause of the water intrusion unless you plan on performing the test yourself.
What types of tests are designed to locate water intrusion in a home or office?
There are a great number of different types of water intrusion tests designed to locate water intrusion in a building. These tests that are used by professionals are determined by the type of system such as a window, door, or deck for example.
Official testing standards for water intrusion testing
You may or may not be aware but there are actual water intrusion testing standardized tests. That’s right… the ASTM and AAMA have produced documents that dictate the methods by which water intrusion testing should be performed for forensic leaks or brand-new products and that’s called quality assurance testing.
ASTM water intrusion testing standards
The ASTM (American Society for Testing and Materials) organization has developed a number of professional testing standards designed to locate water as it enters multiple different building systems. These building systems include systems like;
- Decks (D5957)
- Windows and Doors is the (E1105)
- Exterior Walls (E2128)
AAMA has water intrusion testing standards
The AAMA (American Architectural Manufacturers Association) has developed water intrusion testing standards used to rule out water intrusion in windows and doors.
- 501.2
- 502
- 511.08
Important Info
The AAMA and ASTM Water Intrusion Testing Standards are Broken Down Individually | Waterproof Testing (Decks)
ASTM D5957 – Standard Guide for Flood Testing Horizontal Waterproofing Installations
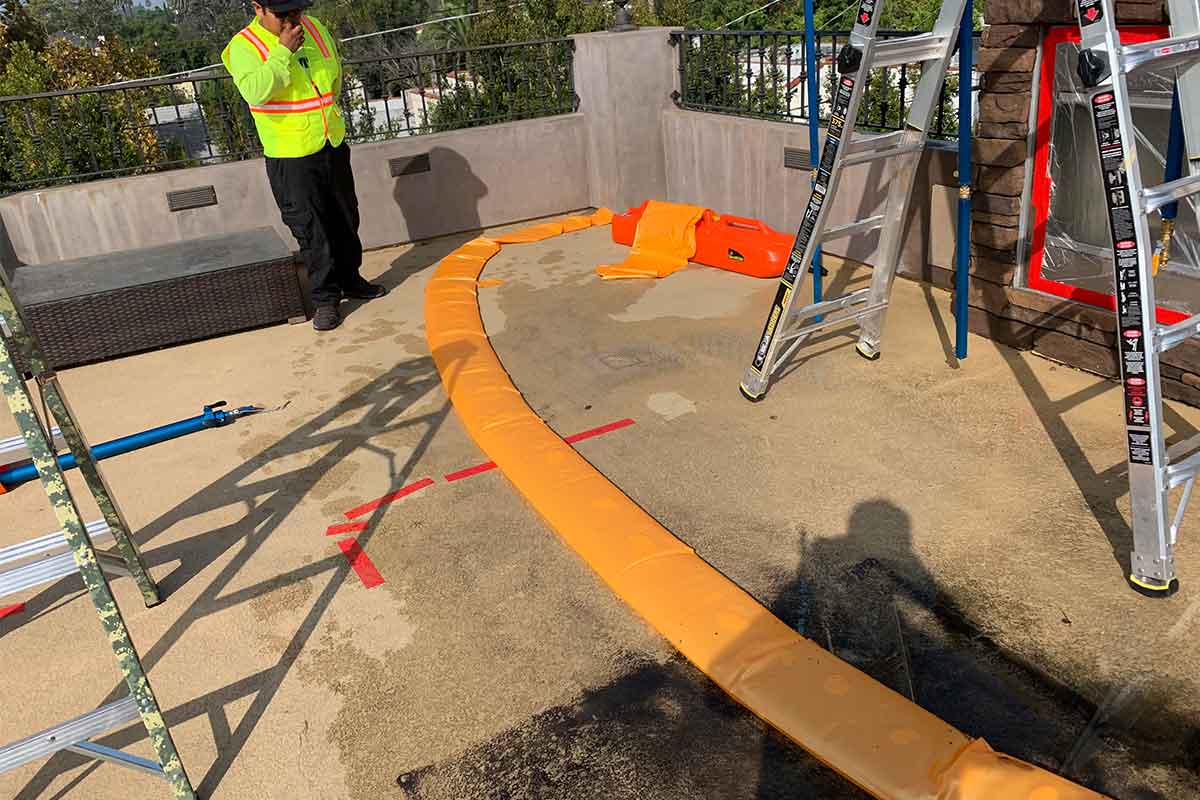
First up is the ASTM D5957, this test is the go-to test for testing waterproof membranes in different waterproofed systems. The ASTM D 5957 is very clear as to what you can test and what you cannot test.
In short, this ASTM D 5957 standard offers instructions for evaluating the watertightness of waterproofing systems on horizontal surfaces with a gradient of up to 2% (20 mm/m). It is explicitly designed for non-roofing uses, including parking garages and plaza decks situated over habitable areas or elevated structures.
The guide addresses testing for different waterproofing membrane installations, encompassing loosely laid sheet membranes, liquid or fluid-applied membranes, and firmly adhered sheet membranes. Nonetheless, it is unsuitable for settings that include constant submersion or prolonged water retention, such as fountains, swimming pools, or hydrostatic pressure tanks.
Window, Door, and Curtain Wall Testing – ASTM E1105 – Standard Test Method for Field Determination of Water Penetration of Installed Exterior Windows, Skylights, Doors, and Curtain Walls, by Uniform or Cyclic Static Air Pressure Difference
This testing procedure assesses the impermeability of exterior windows, curtain walls, skylights, and doors to water intrusion. This entails applying water to the external surfaces and edges while concurrently sustaining a larger static air pressure externally than internally.
This method applies to any particular assembly or curtain-wall section and seeks to evaluate water penetration resistance to assure adherence to performance objectives, including the assessment of joints between assemblies and adjacent construction.
Furthermore, the process analyzes water penetration through a constructed unit. The method identifies water infiltration but fails to consider the potential adverse impacts on the performance of components such as sealants or specific types of glass, even if the infiltration does not lead to failure.
Building Walls – ASTM E2128 – Standard Guide for Evaluating Water Leakage of Building Walls
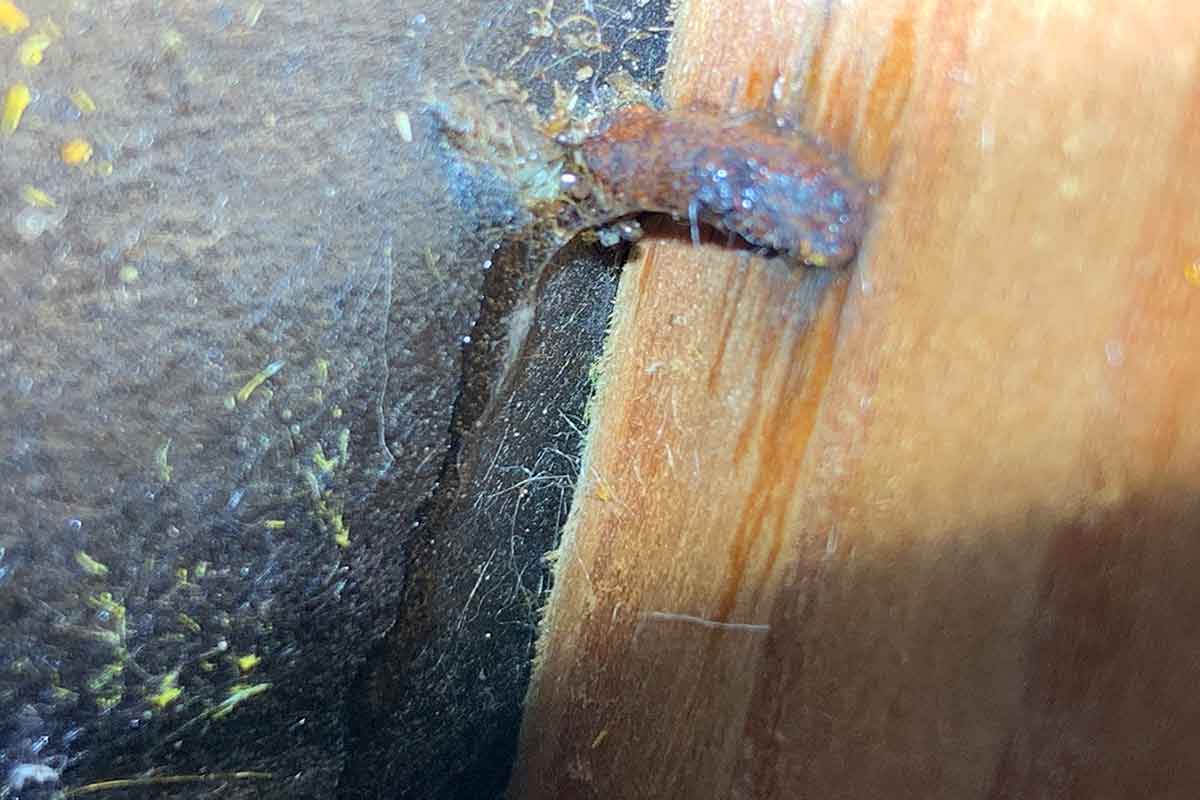
This guide provides methods for identifying and evaluating the causes of water leakage in exterior walls. Water penetration is deemed problematic if it surpasses the wall’s designed resistance or drainage capacity, potentially leading to premature deterioration of the building or its contents and affecting the performance of other components.
The wall is treated as a system that includes all finishes, windows, structural parts, and elements that maintain the building’s interior environment.
The investigative techniques mentioned may be intrusive, disruptive, or destructive, and the investigator is responsible for understanding the potential impacts of these methods and planning for any necessary repairs. The guide does not cover all safety concerns associated with its procedures; therefore, users should establish appropriate safety practices and be aware of regulatory limitations, especially for above-ground work and destructive investigations
AAMA 501.2-15 Test Standard
The goal of this paper is to give a way to check the quality of installed storefronts, curtain walls, and sloped glazing systems for water penetration in the field. The steps described are not meant to test how well the rated or defined water works during wind-driven rain events. The AAMA 503 standard is the right one to use to test how well storefronts, curtain walls, and sloped glazing systems stop air leaks and water infiltration in the field.
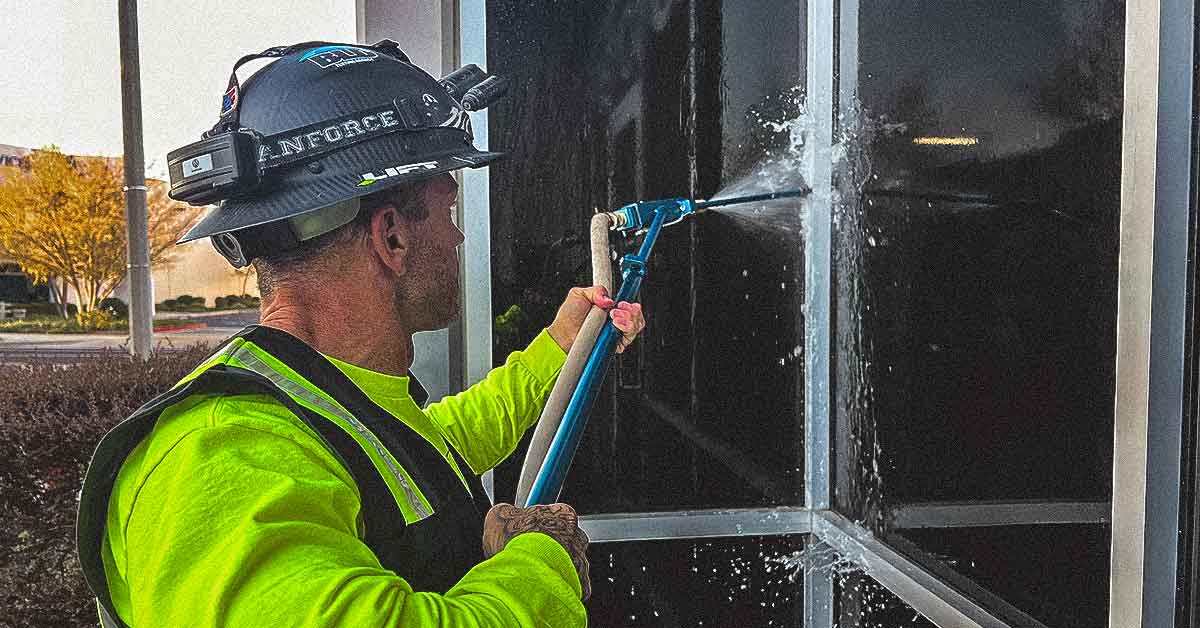 Please keep in mind that this field check method is not good for checking parts that can move, like windows and doors that can be opened and closed. The right way to test for air leakage and water penetration in recently installed windows and doors that can be opened and closed is according to AAMA 502. Also, AAMA 511 is the right standard to use when checking fenestration goods for their ability to stop water from getting through.
This field check process is all about looking at the glazing’s joints, gaskets, and sealant details that are meant to stay sealed and watertight at all times.
AAMA 502 Water Intrusion Test standard
This standard outlines the requirements for test specimens, equipment, samples, procedures, and reporting necessary to ensure that newly installed fenestration products are resistant to water and air infiltration. It is applicable during the construction phase, before the issuance of an occupancy permit, and within six months of the fenestration products’ installation. The document, following the guidelines of AAMA/WDMA/CSA 101/I.S.2/A440, specifically addresses fenestration products but excludes curtain walls, sloped glazing, and storefront systems, which must be tested according to AAMA 503 as required. Evaluating the structural loading resistance performance of fenestration products is not included in this standard.
AAMA 511-08 Forensic Water Penetration Testing of Fenestration Products
Detailed information is provided to assist industry professionals in choosing the right modifications to existing testing standards for use in field investigations of fenestration products. ASTM E 2128 serves as the foundation for conducting field investigations related to water infiltration in building walls.
This document aims to provide additional guidance and highlight the essential information and actions needed for fenestration product investigations.
It outlines supplementary details regarding each of the seven steps involved in forensic investigations, which are divided into two categories: four steps that occur before testing and three steps that take place during and after testing. These steps are defined in ASTM E 2128.

Who can perform water intrusion rain leak detection?
Anyone can perform water intrusion rain leak detection and testing. Most people assume that water leak detection is just left to the professionals but that’s not always true. You can easily perform water intrusion testing with a few easy tips found in this document.
We’ll discuss the tools and techniques used to perform water intrusion testing on windows, doors, walls, and decks.
What types of tools do professionals use to locate rain leaks or water intrusion?
Professional water intrusion companies like Building leak Detection Companies in Los Angeles, Forensic Testing Agency, and BLD Vegas, all use similar tools. Some of these tools include;
- Spray rack
- Spray wand
- Infrared camera
- Moist meter
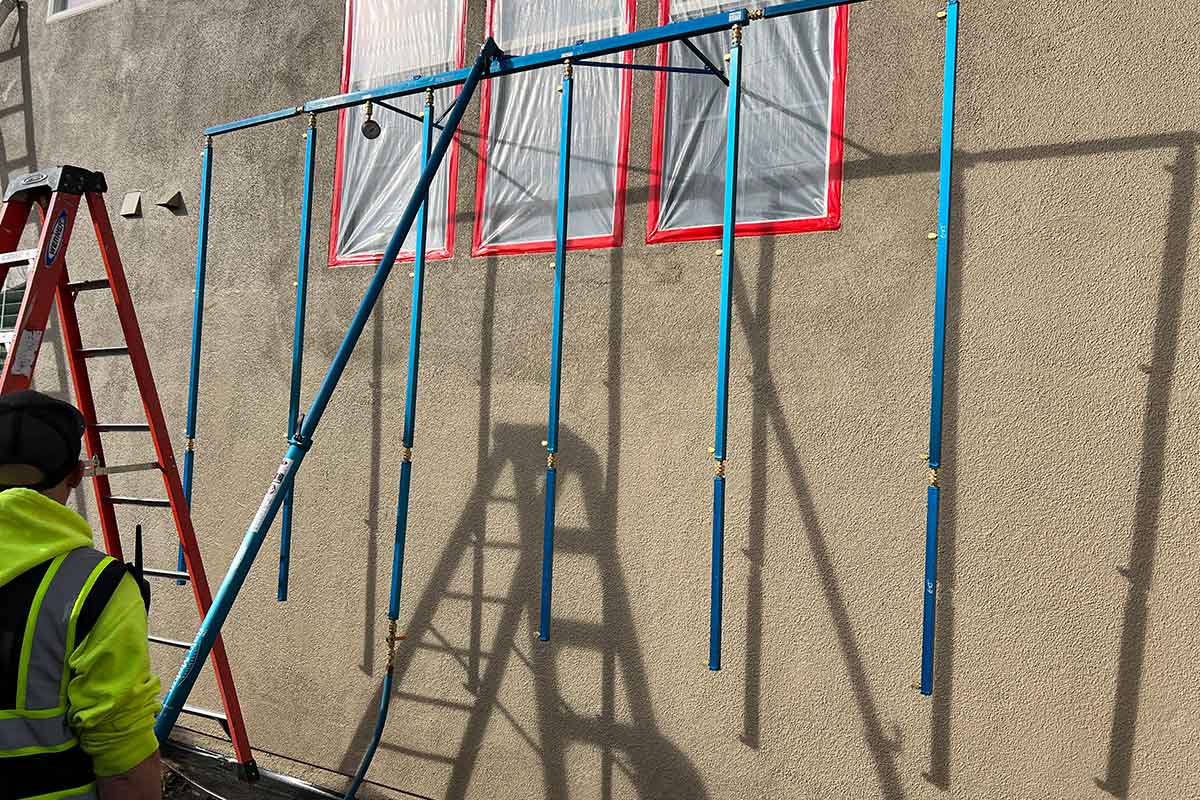
The calibrated spray rack used in water intrusion testing
The calibrated spray rack is an essential tool that all water intrusion experts use to perform their tests. Most all water tests require the spray rack so you can see how important it is.
These spray racks can be purchased or manufactured. The materials used for the construction of these racks are aluminum or plastic PVC or ABS. The most important part of the spray rack is the nozzles. They spray a specific pattern onto their specimen saturating it as genuine rainfall would.
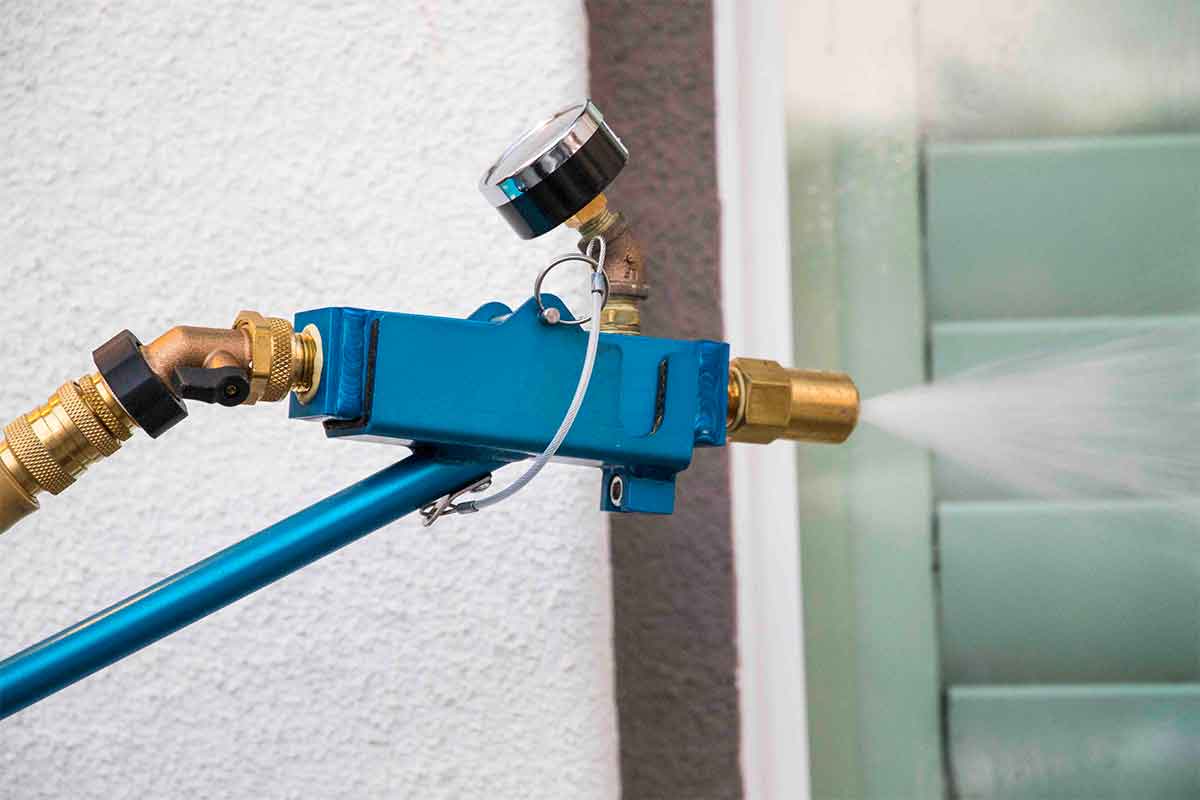
AAMA 501.2 Spray wand used for water intrusion testing
The 501.2 spray wand used for water intrusion testing is effectively a specialized tool used mainly in storefront applications and water intrusion testing. That said, we use it for quite a few different applications. In the event we need to put a ton of water in a specific area to test for rain leakage, we will use the spray wand.
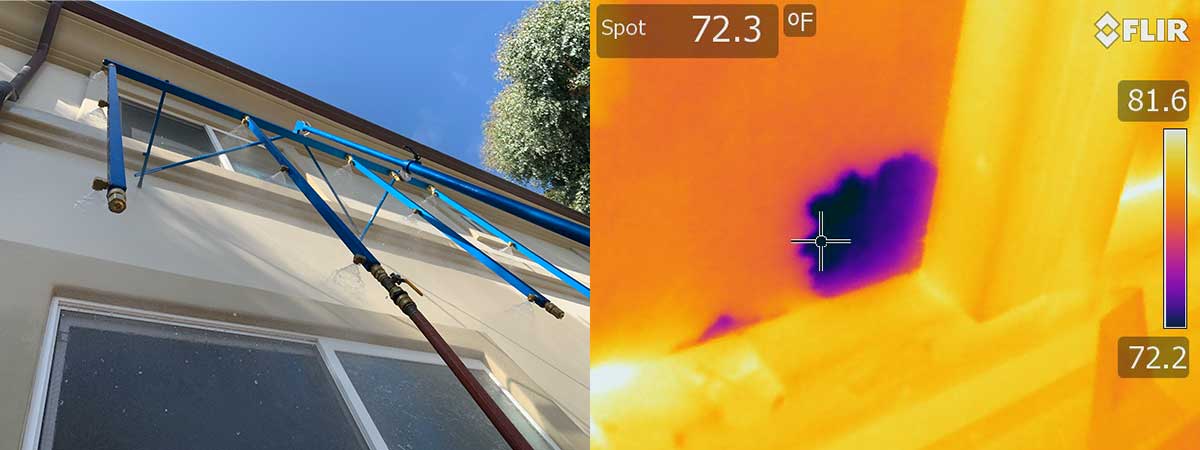
Infrared cameras or the use of thermography for water intrusion testing
Thermography is a fantastic way to locate water leaks in the home no matter what state you live in. The use of infrared thermography works best when removal of the interior wall finishes.
So let me explain, for almost all water intrusion testing projects and investigations, the interior wall coverings are almost always removed or simply not installed prior to the testing.
When it’s not possible to have the wall covering removed the water testing is best performed in conjunction with infrared thermography. This way, the testing agency or person performing the test using an infrared camera can detect water inside a wall or cavity without destroying the interior finishes.
Most people probably can’t afford the cost of a decent infrared camera for a one-time water intrusion project. Most infrared cameras run around $10,000. The good news, they can be rented online. The cost of rentals is usually around $350 for a day.
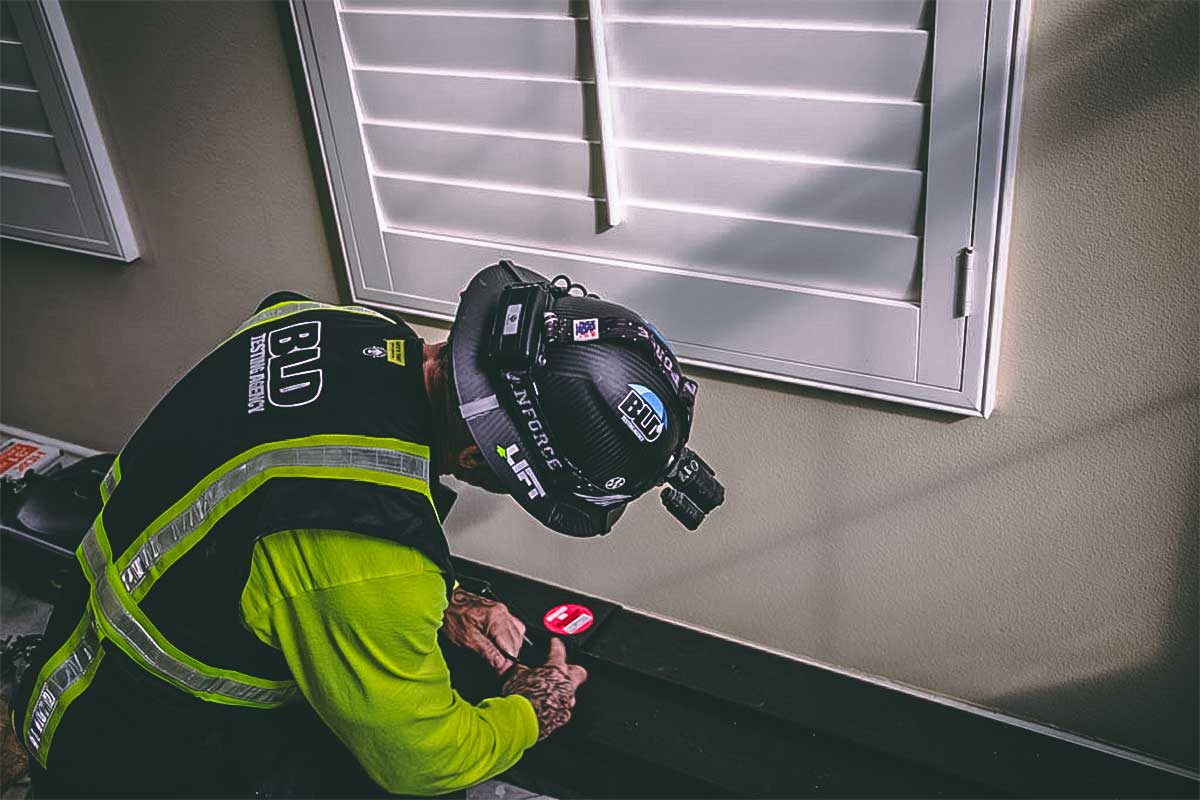
Moisture meters used in conjunction with water intrusion testing
These moisture meters are a dime a dozen. there are expensive units and there are less expensive units you can easily find at Home Depot or Lowe’s. Moisture meters are used when water intrusion testing is performed. Most times we use moisture meters when wall covering materials cannot be removed, like with infrared cameras.
Moisture mapping is another way the locate water as it travels inside a cavity or wall. Moisture meters used in water intrusion testing is one of the most important tools you can use in locating a rain leak.
What types or tools can regular people use to locate a water rain leak?
- Water hose or Dripper hose
- Infrared camera
- Moisture meter
- Hand sprayer
So as a homeowner, you can easily perform rain leak testing with basic tools that you buy at your local hardware store, Lowe’s or Home Depot. Next, we’ll discuss the various tools you’ll need to locate, isolate, or otherwise find a water leak in your residence with little cost.
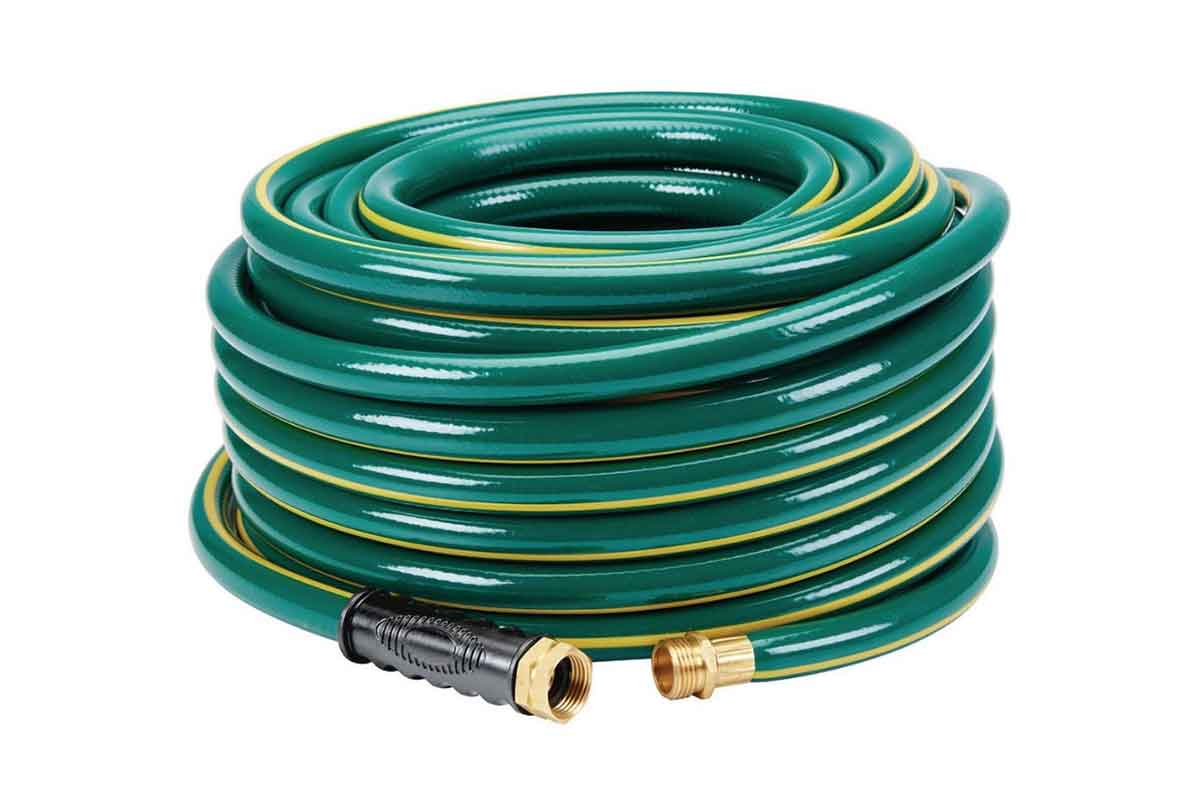
Water Hose Used to Test
There are a couple of different types of water hoses you will want to use for leak detection. The type of water house really depends on the type of leak as well as the standard (be it unofficial) that you will be following. The different types of water hoses are either a 3/4” soaker hose or a 3/4” standard hose you will want to use for spray testing.
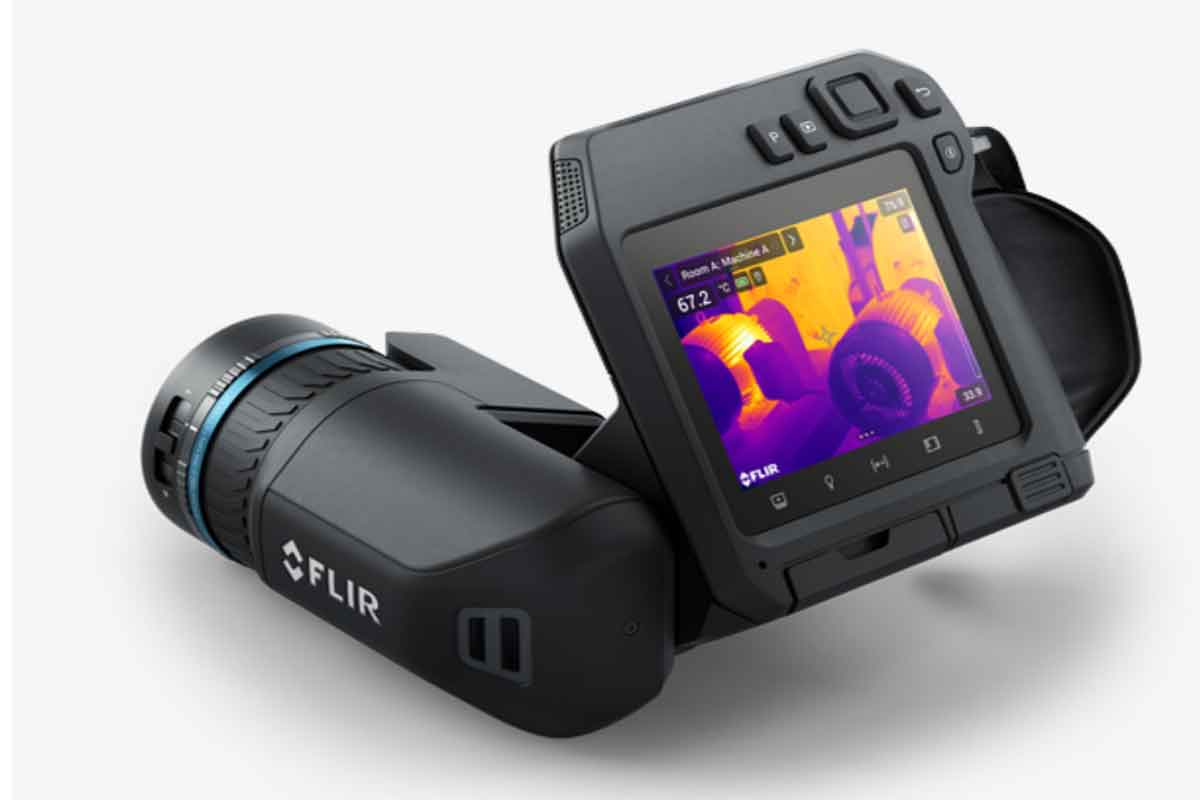
Infrared Camera For Water Intrusion Testing
As previously mentioned, you may want to attempt to rent an infrared camera for your water intrusion test. They are not difficult to locate and are fairly reasonable to rent in cost. The best part about using these types of tools is you can locate water in a wall without removing wall covering material inside your home.
Moisture meter
We suggest finding a reasonably priced moisture meter. The moisture meter will be invaluable when you start to initiate your water intrusion test. These moisture meters are extremely useful in a multitude of surface materials such as drywall, wood paneling, wood framing, and more.
Hand Sprayer Used When Rain Leak Testing
Of course, when we are talking about hand sprayers we’re not talking about the ones the professionals use. Nor am I talking about the type that is in a bottle much like a Hudson sprayer.
The type of sprayer needs to project a fan and is wider than 12” but the center of the fan has to project water much like the outer rim of the spray. These sprayers are a little difficult to find, however. This is why the professional racks incorporate these very special spray tips.
But if you happen to locate these types of sprayers these are the ones that we need to use for your testing.
There are differences between professional tools and homemade
The reason we need a full spray is that we need to soak a large surface area (16”-18”) at once. The full spray will test this full surface area. So in a real-life test, the spray will progress left to right and cover a large surface so that way we don’t leave any area of the specimen untouched or untested.
Something else to consider, a spray rack will spray a specimen surface area of roughly 64 feet square at one time, in one 15-minute test. In contrast, a small sprayer will cover about 1 square foot in the same 15-minute test.
The new windows and doors you choose to install into your home whether it’s a new home or remodel, must be tested prior to installing the interior or exterior wall coverings.“Building

Where can you buy rain leak detection tools?
Tools used in sourcing water intrusion can be purchased in many places on the internet. I’m not sure about Home Depot or any of those stores because professional water intrusion leak detection tools a more or less specialty items.
Now, infrared cameras, moisture meters, and the like are easily obtained just about everywhere they sell inspection tools on the internet.
The process for conducting a water intrusion rain leak test
With so many different types of water intrusion and rain leak infiltration tests, it’s difficult to know where to start. So, we essentially just started with the tests most commonly performed by a water intrusion specialist working in Los Angeles.
Window Testing for Rain Leaks
If you have a rain leak near a window you will want to rule out the source of the leak. We do this by performing two different tests.
The first step in performing a homemade water intrusion test for window leaks is to test the wall and the window separately. This is also known as A/B testing. I’m guessing you’re using a water hose with a regular sprayer on the end and this is the way you will be applying water onto the specimen.
So let’s help you attempt a homemade water intrusion test on windows
How to perform a homemade water intrusion rain leak test on a window
- We will want to apply plastic over the entire window to be tested (so no water enters the glass) and secure the plastic with duct tape around the frame taking special care NOT to apply tape onto the wall surface. The idea of this is to test only the outer perimeter of the window and not the actual window itself. This will help determine if the leak is coming from the window installation into the wall as opposed to the window itself.
- Make sure the window is locked and fully closed, sealed tight to the frame, and with no broken glass panels
Connect the 3/4” water hose to a hose bib and attach the sprayer to the hose - Start the test by turning on the water to a pressure strong enough so it will give you about a 12” x 12” or larger spray pattern as long as the spray has at least some coverage in the center of the spray cone.
- While the testing is being performed, we suggest having someone on the inside of the window to observe. This person should be equipped with a flashlight, an infrared camera, or a moisture meter if the wall covering is still intact.
- With the water running through the sprayer, spray the wall/window connection starting at the bottom (sill) left corner (or right) And slowly working your way to the opposite side jamb.
As an amateur water intrusion tester, I would suggest moving the sprayer 6” per every minute of testing. - Upon completion of the sill test, start with one side of the jamb performing the test in the same manner but this time moving upwards
- Once you reach the top (Head) you will want to stop and start at the bottom of the opposite side jamb, moving upwards toward the top (head) of the window.
- The test is complete.
If there were no leaks, perform this test next.
- Start by removing the plastic sheet from the window frame.
- The entire time this test is being administered, remember to have someone on the inside of the window to observe.
- After ensuring no water leaks into the window glass area, we can proceed with the next round of testing.
- Start by administering the water spray at the lower 12” or so of the glass and move your sprayer slowly across the glass from one side to the other side.
NOTE: Because a water hose can administer a spray pressure that may exceed the tested laboratory results, you will not want to move exceedingly slowly. My advice would be to move at a moderate pace across the window specimen. - Once you have successfully crossed the entire window and ended up at the opposite side of the jamb, it’s time to move up. How far up the window? That distance is determined by the spray pattern you are using. You will want to overlap the spray as you move up the window.
- You will want to repeat this process until you reach the top (head) of the window.
The test is complete.
What are some of the safety concerns when performing your own water intrusion window test
Over the years of performing water intrusion testing in Los Angeles, Las Vegas, and Phoenix Arizona, we have encountered multiple different conditions which create challenges when trying to test a window specimen.
One of the difficulties is testing on different levels other than ground level. When you have to test above the ground you will need to use things like scaffolding to perform your test. Of course, you may be able to use a ladder when safe, but it’s still a dangerous situation while standing on a single rung that is likely going to be wet, 20 feet off the ground. Not suggested.
Keep in mind the areas around where you’re testing are wet and very slippery. Additionally, keeping in should water leak into the interior of the building it may create water damage, structural damage, or even mold.
Exterior Building Wall Testing for Rain Leaks
There are a couple of different types of building materials that can easily be tested by a homeowner. Stucco and siding are the two surface materials that are most easily tested with basic testing tools purchased from a big box store.
Regardless of whether you’re water leak testing stucco or siding the tests are similar.
Brick is another type of exterior wall surface material that can be tested however, it’s far more complex than just a stucco wall or siding wall test.
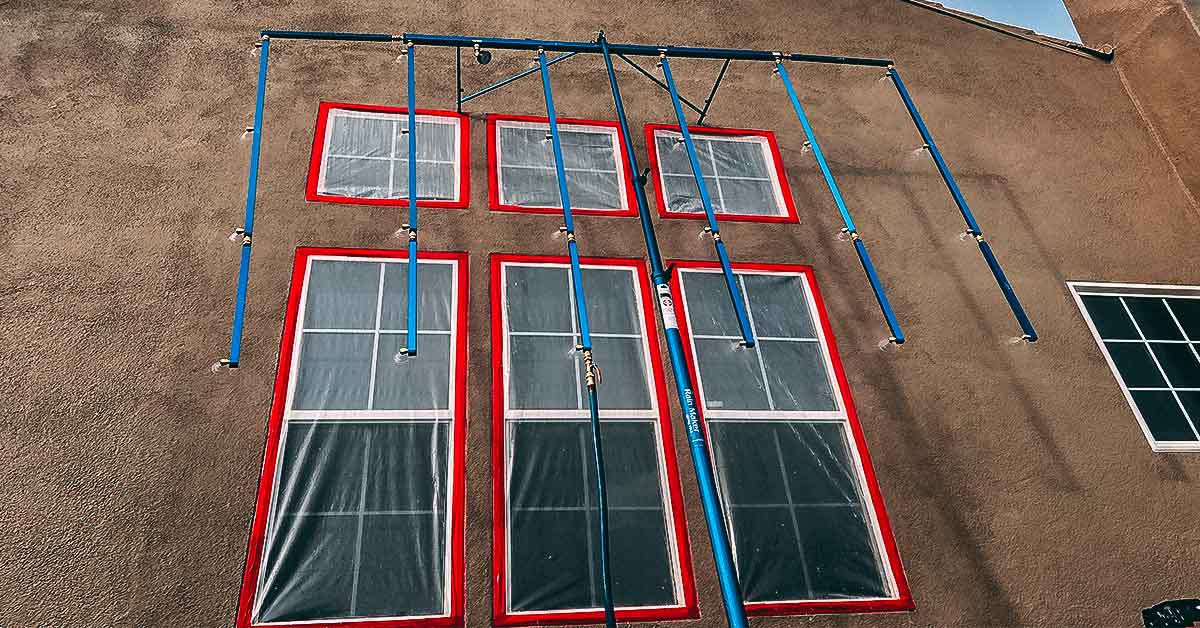
Homemade water leak testing for stucco wall surfaces and siding wall surfaces
The ASTM 2128 calls for the use of gravity testing as a means to diagnose leaking walls despite the type of wall surface materials. Unlike the spray rack a professional water intrusion specialist would use, the soaker hose as mentioned in the ASTM 2128 is an effective tool for finding water intrusion. Although the general public has probably never performed a water leak rain test if you follow the basic principles of gravity, finding a leak instantly is that difficult.
ASTM 2128
10.3.1 Simulating Surface Flow—Water flows down the face of a wall by gravity. This flow is capable of causing leaks under some circumstances even without wind-induced differential pressure. Surface flow can be simulated by wetting a wall area with a matrix of uniformly spaced spray nozzles that deposit a full film of water. The customary spray rate is between 4 and 10 gallons per square foot per hour, nominally averaging 5 gallons per square foot per hour, and is intended to deliver a continuous water film to the test area, rather than to simulate a particular rain event. Tests to simulate surface flow alone, without differential pressure, are a useful first test. Other methods of depositing a surface film of water for diagnosing leaks include soaker hoses or a trickle of water from an ordinary hose. Soaker hoses or a trickle of water have been particularly useful in diagnosing problems with drip edges and small overhangs.Things to look out for when performing your own water rain leak test
When performing your stucco wall leak test or siding test, you should be aware of some difficulties while performing these tests. We have a few tips that might help you perform your own test that works on just about any wall surface material.
Penetrations in your wall should be tested separately from the actual wall surface. Penetrations include things like windows, light fixtures, plugs, speakers, and the like. They’re anything that penetrates the wall, or more simply makes a hole in it.
Isolation rain leak testing is necessary
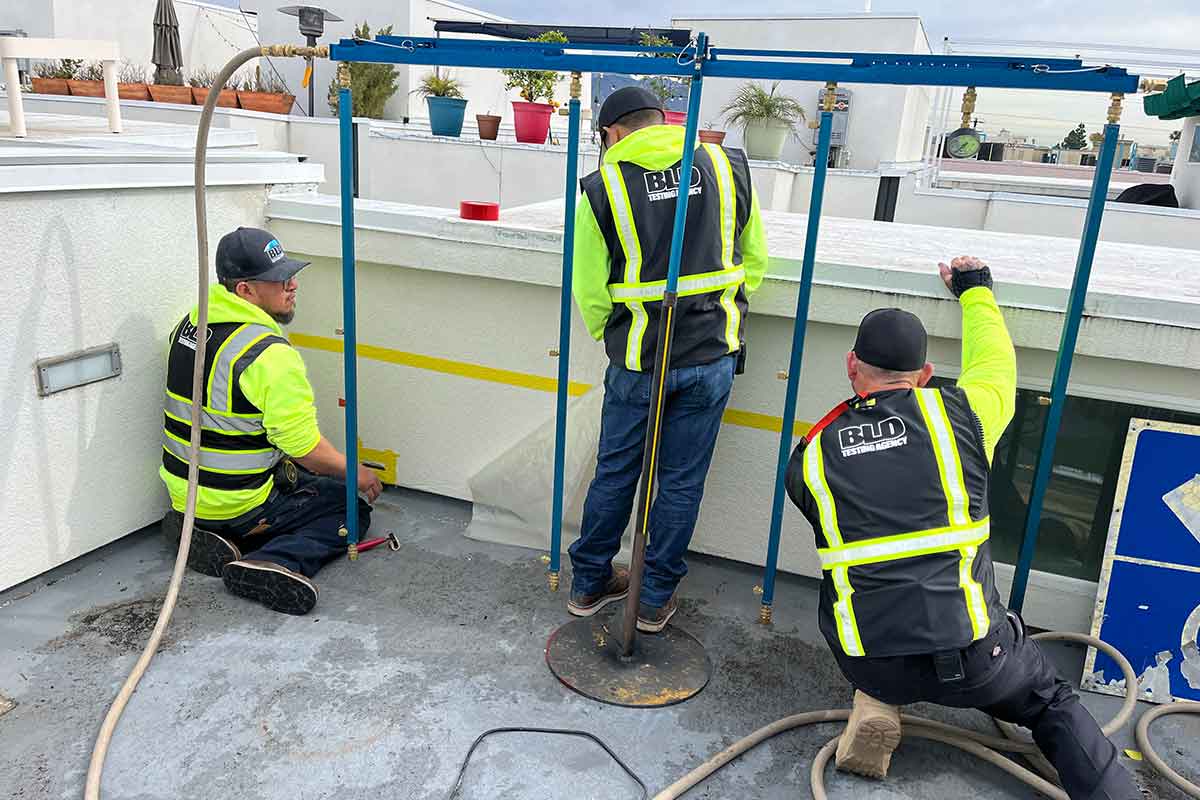
Isolation is the most effective way to test penetration in a wall. When there are penetrations in a wall, you will want to perform two tests. The first test will have the penetrations removed from the test by masking off the penetrations with tape or plastic. Once the first test has been performed, the penetrations can be tested separately.
Keep in mind that while these two different tests are performed, you will want to have a person on the opposite side observing for leaks using moisture meters… infrared cameras, or by removing the interior wall covering and using a flashlight to look for leaks.
Be mindful that there will be a ton of water running off the wall onto the ground creating a lot of ponding around the wall.
Brand New Window and Door Water leak Testing
Let’s say you are installing brand-new windows or doors in your home, anywhere in the country. Do you think these new doors or windows should be tested? I mean, they were tested in factors under the ASTM 331 factory laboratory test. Do you think they need to be retested?
The answer is yes. The new windows and doors you choose to install into your home whether it’s a new home or remodel, must be tested prior to installing the interior or exterior wall coverings.
Why water leak test brand new windows or doors?
The reason you will want to test your brand newly installed windows or doors is because there is a chance there may be leaks. Although the products have been tested in a factory, they must also be tested in the field because the installation or the product itself may have been compromised at some point.
Having the windows and doors tested after the installation will display leaks if there are any.
What type of water leak test is suggested for new windows or doors?
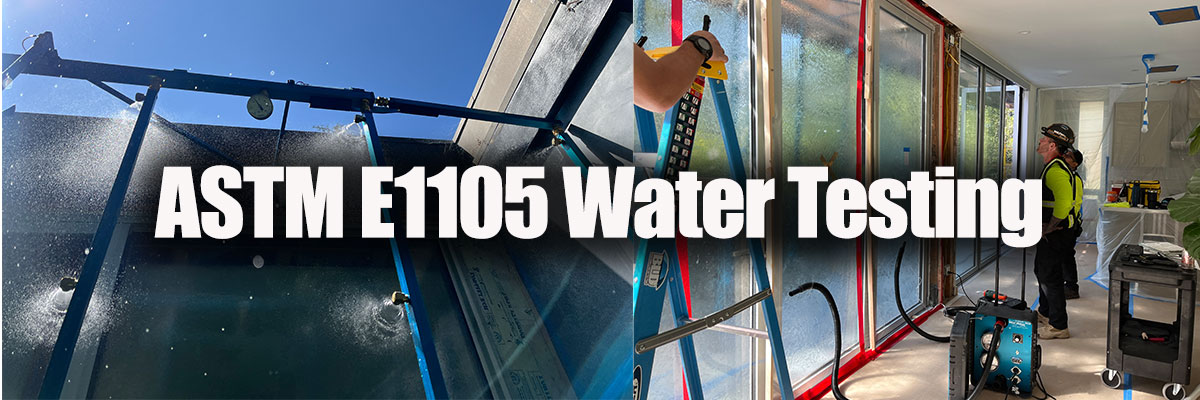
In the real world, the test for these newly installed products is the ASTM E1105 water intrusion test. Even though you don’t have the tools these professional water intrusion specialists possess, you can follow the steps above and test them yourself.
What happens after the water leak test?
So after you test your new windows and doors, if you experience a leak, you will want to contact one of a couple of different people.
- Contractor
- Window Manufacturer
The contractor who installed the window or door will be responsible for installing the product into the wall, therefore the contractor should have. warranty for his or her work. So in essence, if the product leaks, you will want to ask if the installation can be remedied or if the product be replaced depending on the water leak.
Leak test your own decks for rain leaks
Decks are quite complex in their construction. From the wood framing all the way to the top coat of the decks water proofing. There are a tremendous number of steps to take to correctly build a walk-on deck. For professionals testing decks, the process for rain leak testing isn’t too difficult, however, this test requires a bit more in the way of tools. Performing this deck leak test properly depends on a few questions which should be answered prior to testing.
- Is the slope of the deck greater than 1/4″ per foot of run?
- Is the surface of the deck protected by some type of water proofing?
- Is there a parapet wall or is the deck just flat?
- Is there railing?
- Doest the deck railing penetrate the parapet wall or deck surface?
- Is there a connection to the house? Is it flashed?
These questions are important because the test is determined by all of these individual systems and components. And these tests are all included in the ASTM 5759 deck leak test. Here are a few items you may wish to buy prior to testing. Let’s say for arguments sake that the deck is flat with flashing against the house, with parapet walls and railing is installed into the parapet walls.
- Water House and sprayer
- Sand bags and plastic sheeting
- Inflatable plugs
- Duct tape
Steps to perform your own deck leak test
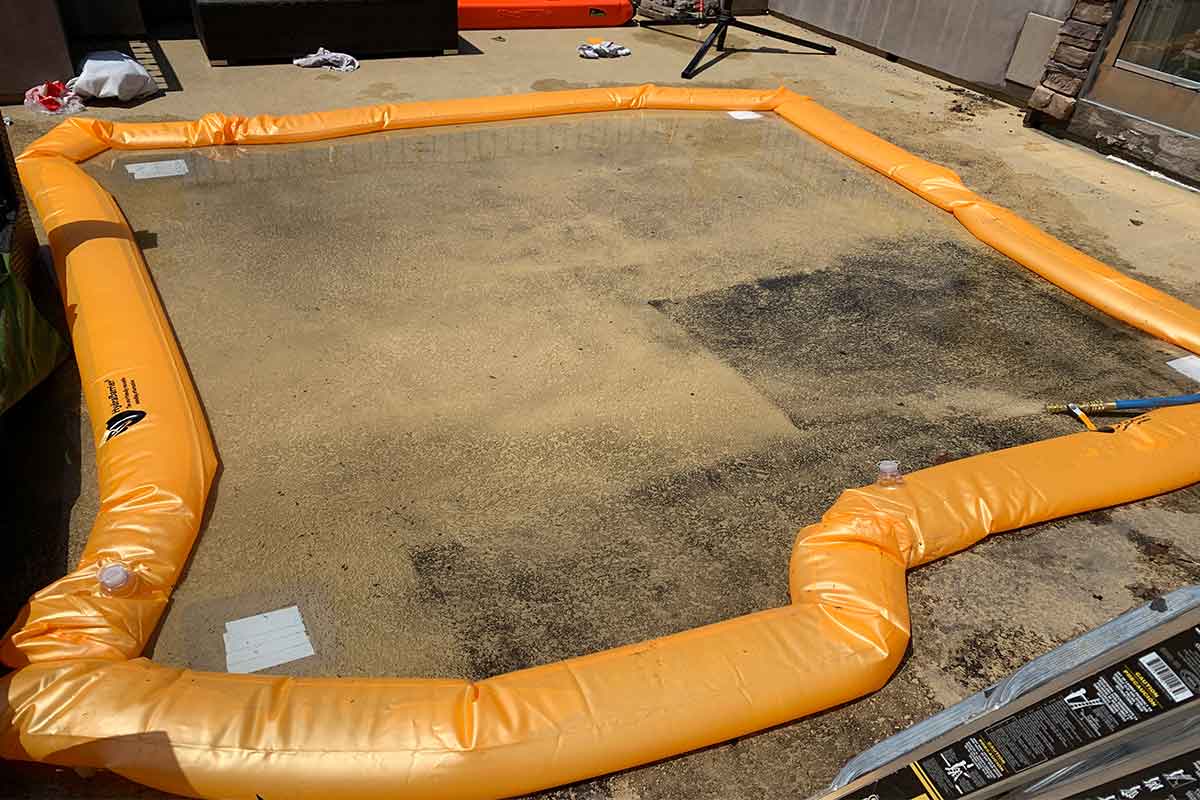
According to the test standard well want to follow their basic outline to proceed with the test in a manner which is more or less consistent with the official standard, ASTM 5759. The size of the deck and or test area is really dependent on the amount plastic and sand bags you will need.
- To start lets determine the size of the test area
- Once this area is determined, we will want to block it off with plastic duct taped to the deck, wrapped over the sand bags and held down with a type of ballast
- Next step is to plug the drains with inflatable plugs
- The area is suggested to now be filled with water by a water hose. The water should be below the perimeter flashing (about 2″ deep)
- The water should sit for up to 72 hours if possible
- Once the test is complete, the water should be drained
- Regardless of whether the area leaked, the flashing around the perimeter is suggested to be tested with the hose and sprayer.
- The test is suggested to be performed much like the AAMA 501.2 test mentioned above
The overall idea of this test is that you are effectively flooding the deck with water and having git sit for a while. The hydrostatic pressure of the water is going to force its way through the different building materials. The one important key to this test is to keep watching under the deck for leaking.
We perform this test all the time and I have to say it really does work. I think the difficulty of this test is keeping the water within the berm. Other than that it’s a super easy test to administer.

